Making your own Pride T-shirt is easier than you might think. You can put a rainbow design, a favorite slogan or the colors of your Pride flag onto a plain shirt without buying expensive printing equipment.
A household iron, a few pieces of heat transfer vinyl or some fabric paint can be enough for your first project. If you want a detailed design with several colors, ready-made printed transfers offer another option.
The best part is having complete control over the result. You can choose the exact colors, placement and message instead of settling for another mass-produced rainbow T-shirt.
Three Ways to Make Pride T-Shirts Without Screen Printing
You have several choices depending on your budget and the type of design you want.
| Method | Equipment Needed | Best For |
|---|---|---|
| Heat transfer vinyl | Vinyl, scissors or cutting machine, iron or heat press | Flag shapes, lettering and simple graphics |
| Ready-made DTF transfers | Printed transfer and compatible heat press | Detailed artwork and multicolored designs |
| Fabric paint and stencils | Textile paint, brushes, stencil and cardboard | Handmade illustrations and painted lettering |
For a single shirt, fabric paint or vinyl is a sensible choice. Printed transfers become especially useful when making matching shirts for several friends.
Method 1. Make a Pride T-Shirt With Heat Transfer Vinyl
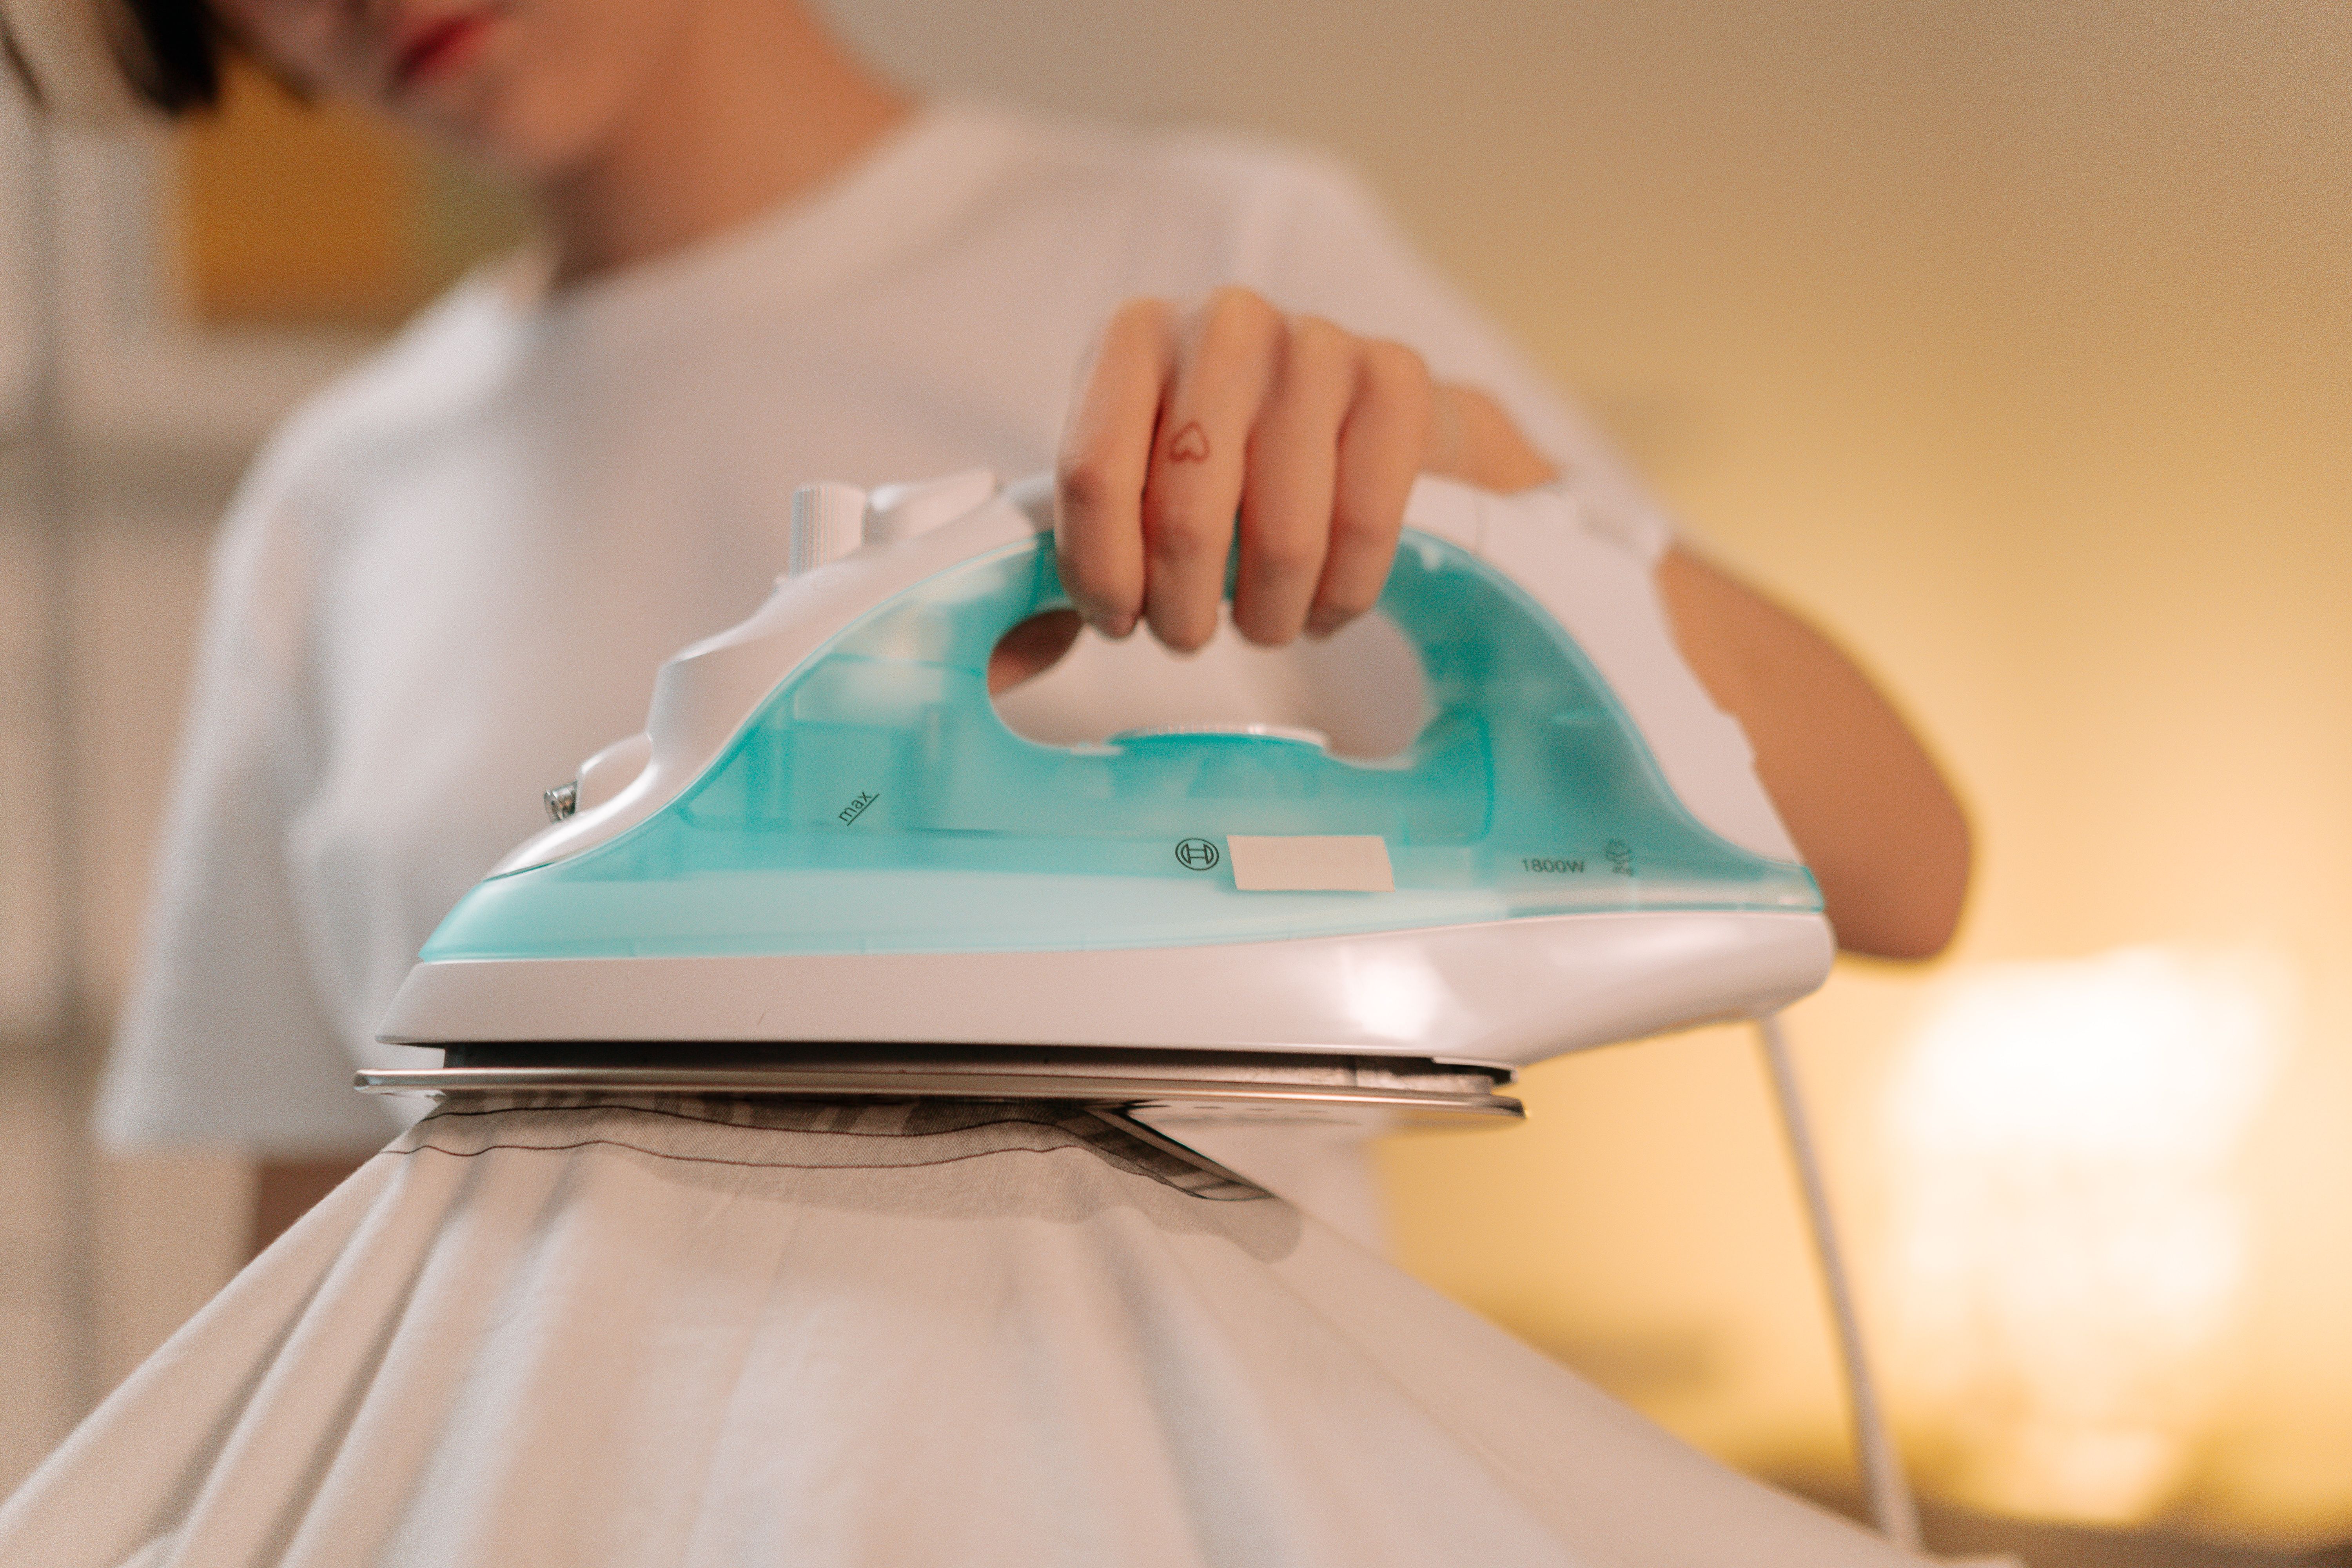
Heat transfer vinyl, usually shortened to HTV, has a heat-activated adhesive that bonds to compatible fabric.
You can buy vinyl in individual colors and cut out letters, stripes, hearts or other shapes. A cutting machine makes complicated designs easier, but scissors are perfectly suitable for simple artwork.
What You Will Need
- A plain cotton or compatible blended T-shirt
- Heat transfer vinyl in your chosen colors
- Scissors or a vinyl cutting machine
- An iron or heat press
- A flat, heat-resistant working surface
- A protective sheet suitable for heat pressing
How to Apply the Design
- Prepare your artwork. Begin with something simple, such as a rainbow heart or a short message.
- Cut the vinyl. For standard HTV, cut the design in reverse so it appears correctly after application. Follow the instructions for your particular vinyl.
- Remove the excess material. Carefully peel away the unwanted vinyl around the letters and shapes.
- Prepare the shirt. Lay it flat and remove wrinkles or moisture with a brief prepress.
- Position the design. Measure the placement before applying heat. Keep the adhesive side against the fabric.
- Apply heat and pressure. Follow the temperature, pressing time and pressure instructions supplied with the vinyl.
- Remove the carrier sheet. Peel it at the recommended temperature. Some materials need to cool first.
A household iron can work for suitable vinyl, but it is harder to maintain even temperature and pressure across a large design.
A heat press machine gives you adjustable temperature and pressing controls, which are useful when making several shirts or applying larger transfers.
Never guess the pressing temperature. Different vinyl materials have different application instructions, and excessive heat can damage the fabric or transfer.
A Simple Rainbow Heart Design
One easy project is a heart filled with rainbow stripes. Draw a large heart on paper and divide it into six horizontal sections.
Cut each stripe using a different vinyl color. Arrange the pieces to form the heart, keeping the edges aligned.
Apply the pieces following the layering instructions for your vinyl. Avoid stacking numerous layers directly on top of one another because the result can become stiff and uncomfortable.
A small rainbow heart on the left chest can look particularly nice on a plain black T-shirt.
Method 2. Use Printed Transfers for Detailed Pride Artwork
Heat transfer vinyl works nicely for simple shapes, but cutting a detailed illustration in five or six colors can become frustrating.
For more complicated designs, consider purchasing a ready-made direct to film transfer, commonly called a DTF transfer.
You send your artwork to a printing supplier, receive the printed design on transfer film and apply it to a compatible shirt using the specified heat pressing process.
The method is useful for illustrations, detailed lettering and designs containing gradients or numerous colors.
For example, you could create a colorful illustration of flowers arranged around a rainbow, or a city skyline with Pride flag colors in the background.
Make sure the artwork has sufficient resolution. A blurry image on a computer screen will not become sharper after printing.
Ask the supplier about the recommended application temperature, pressure, pressing time and peeling procedure. DTF transfers are not all applied using identical settings.
A proper test on a spare shirt is worthwhile before pressing an expensive design.
Method 3. Paint Your Pride T-Shirt by Hand
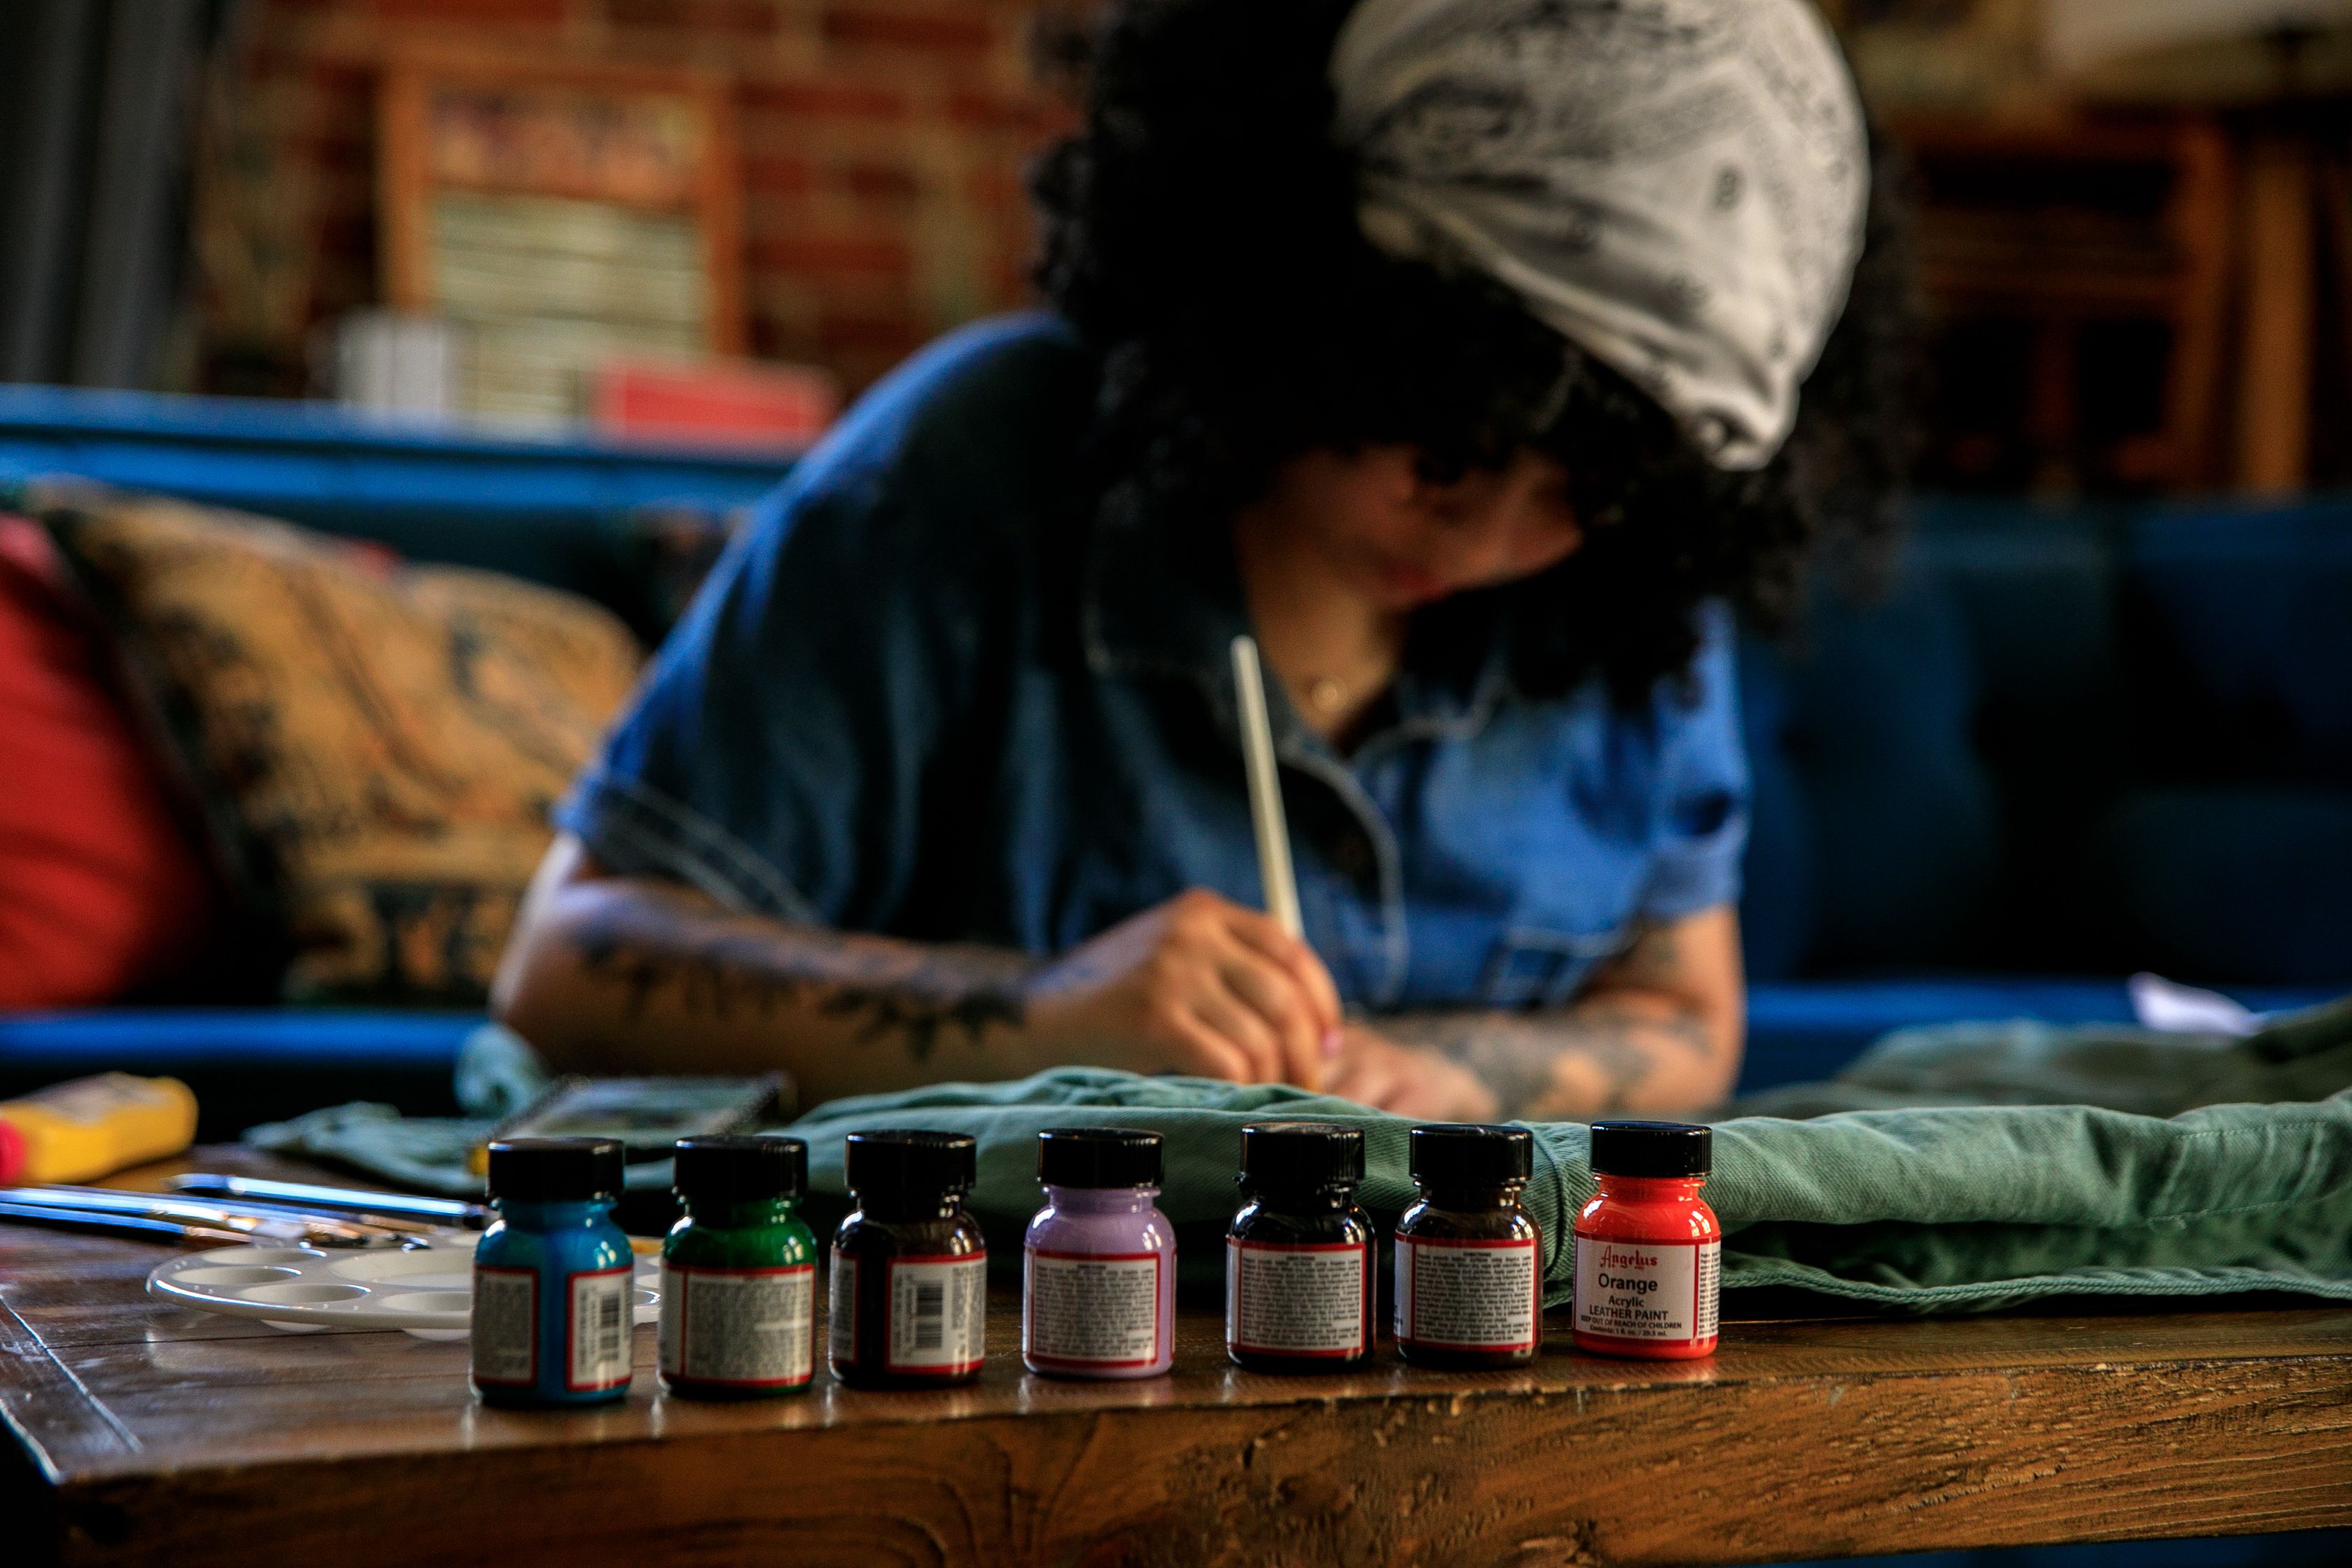
Fabric painting is probably the most enjoyable option if you like drawing and want the shirt to look handmade.
It also gives you more freedom to experiment with lettering, brush strokes and unusual color combinations.
Use textile paint designed for clothing rather than ordinary craft paint. Fabric paint is formulated to work with textiles, although durability depends on the product and correct application.
How to Paint a Clean Design
- Place a piece of cardboard inside the shirt to prevent paint reaching the back.
- Stretch the fabric flat without pulling it excessively.
- Sketch your design using a removable fabric marker or a suitable stencil.
- Apply fabric paint in thin layers, letting each layer dry as directed.
- Allow the completed design to dry and cure according to the paint instructions.
- Heat set the paint only if the manufacturer recommends it.
A stencil helps produce sharp letters. You can make one using cardstock or suitable stencil material and apply paint using a sponge.
Try a large rainbow across the lower half of the shirt or a handwritten message surrounded by small painted stars.
If your first brush stroke looks a little uneven, remember that handmade clothing does not need to resemble a factory print.
Pride T-Shirt Design Ideas That Feel More Personal
A rainbow is an obvious choice, but Pride clothing can feature much more than the traditional six-color flag.
Some of the most interesting shirts combine a simple symbol with a personal message.
Use the Colors of Your Pride Flag
Consider making a design with the colors of the bisexual, transgender, lesbian, nonbinary or asexual Pride flags.
Each flag has an established color arrangement. If you want to recreate one accurately, check its design before cutting the materials.
For example, the transgender Pride flag uses light blue, pink and white stripes. Its original design and color symbolism provide inspiration for simple artwork that works particularly well with cut vinyl.
You can arrange the colors as a heart, a series of small stars or stripes running across the chest.
Make a Shirt With a Personal Message
A short phrase can look more interesting than a complicated illustration.
Consider ideas such as:
- Love Without Limits
- Here and Proud
- My Colors, My Story
- Queer Joy
- Be Yourself, Always
Use a large, readable font. Thin lettering may be difficult to cut with scissors and can lose detail when transferred to fabric.
A useful design trick is to place a small symbol on the front and a larger message on the back. The shirt looks simple at first, but the back adds something unexpected.
Create Matching Shirts for Your Group
Matching shirts are popular for friends attending Pride together.
Instead of printing identical designs, give everyone the same artwork in different colors. You could also add individual names, initials or short messages.
Choose one shirt style for the group and confirm sizes before decorating. A design positioned correctly on a medium shirt may need adjustments on a much larger or smaller garment.
How to Position the Design Properly

Print placement makes an enormous difference, particularly with large graphics.
A common beginner mistake is positioning the artwork too low. The design looks centered when the shirt is flat on a table but sits awkwardly on the body.
For a standard adult shirt, a centered chest design often begins around 2 to 4 inches below the collar. Treat that as a starting point rather than a fixed measurement because shirt sizes and styles vary.
Fold the garment vertically to identify its center. Use a ruler to measure the position before applying vinyl or a printed transfer.
For oversized shirts, try a smaller graphic on the upper chest rather than filling the entire front. A simple design can look better when the fabric has room around it.
Make Sure Your Pride T-Shirt Survives the Washing Machine
A beautiful design is disappointing if it starts peeling after the first wash.
Vinyl lifting at the edges usually indicates an application problem, although incompatible fabric or material can also be responsible.
For compatible heat transfer vinyl, allow the adhesive to settle for the period recommended by its manufacturer. Some products specify waiting at least 24 hours before the first wash.
Turn printed shirts inside out and use the washing instructions supplied with the transfer or paint. High dryer temperatures and harsh washing conditions may shorten the life of some decorations.
Painted shirts also need enough drying and curing time. Washing a painted design too early can damage the artwork.
Test your first design on an inexpensive shirt. One successful wash is more convincing than a print that looks perfect for five minutes.