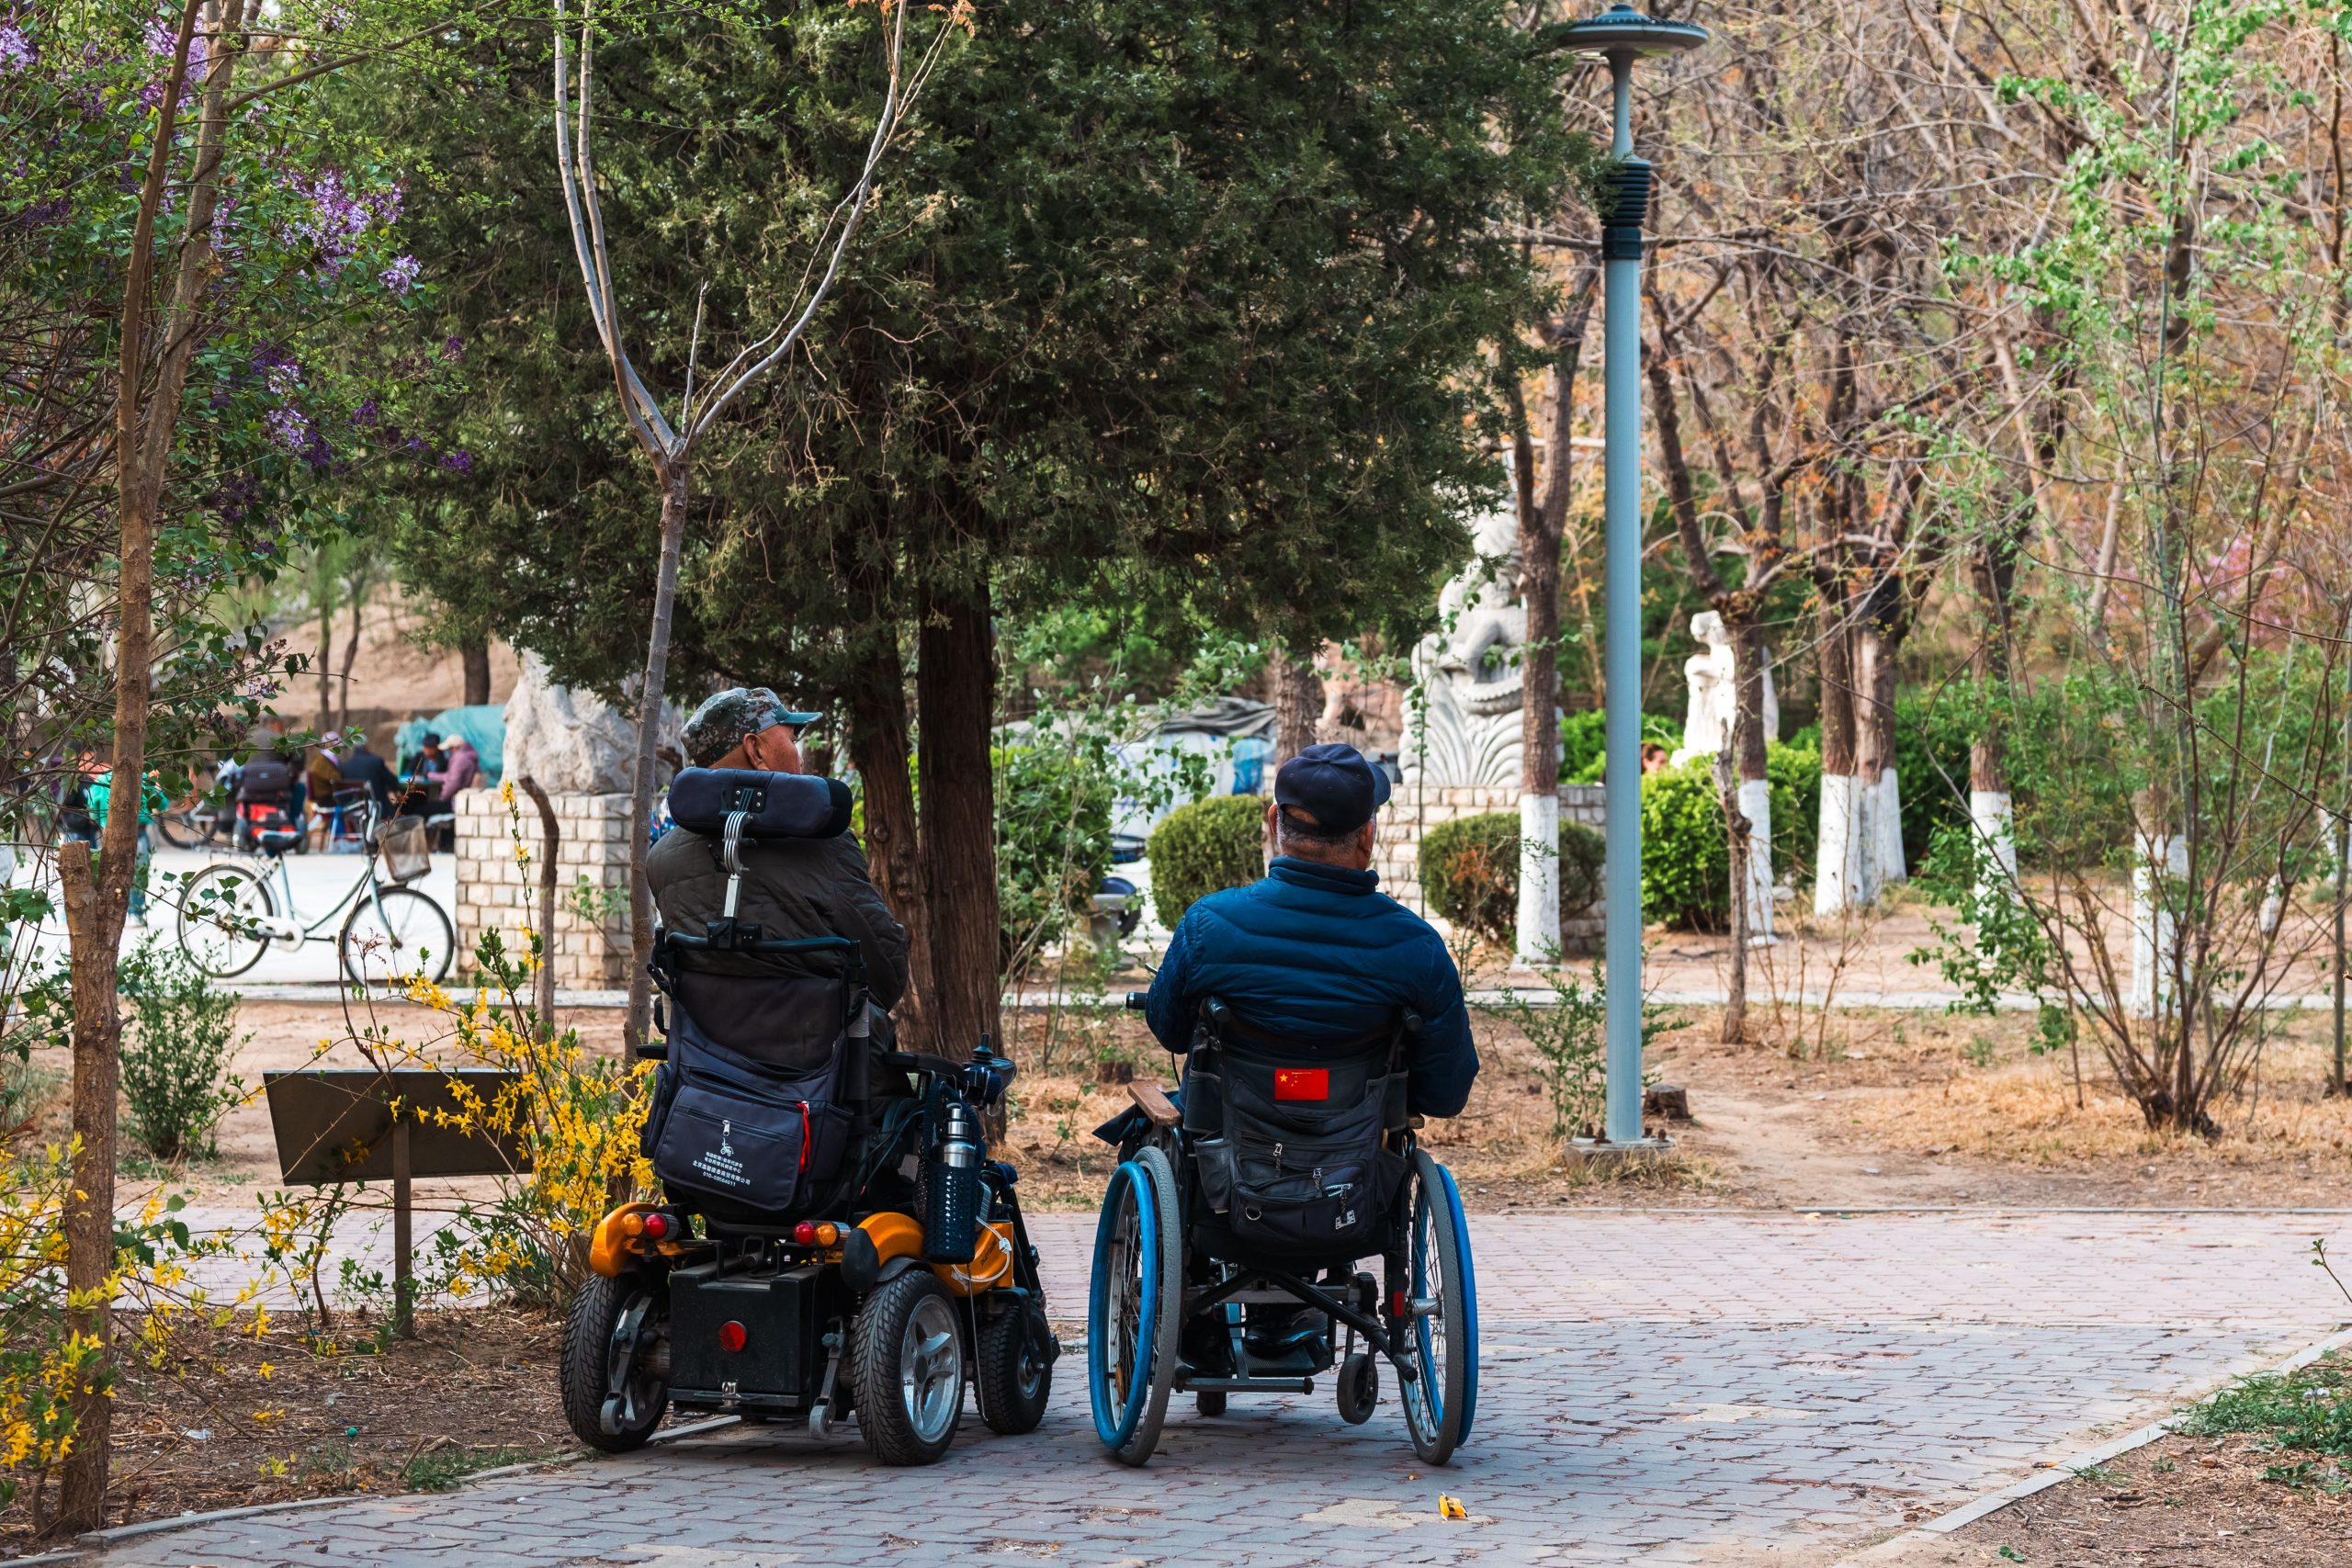
A shared outdoor space can be technically accessible and still communicate, quietly, that some people are visitors rather than participants. A route may reach the park, yet stop short of the best view. A playground may include one accessible element, yet separate it from the rest. Benches may exist, yet leave nowhere for a wheelchair user, a stroller, or a companion to sit together.
Inclusive outdoor design starts with a different question: can people with different bodies, ages, senses, energy levels, and ways of moving use the space together without asking for special permission? That question affects everything from path layout to shade and signage. It also affects smaller choices, including how seating is selected; durable composite outdoor furniture, for example, can be considered as part of a wider plan for varied, comfortable places to stop rather than as an isolated product decision.
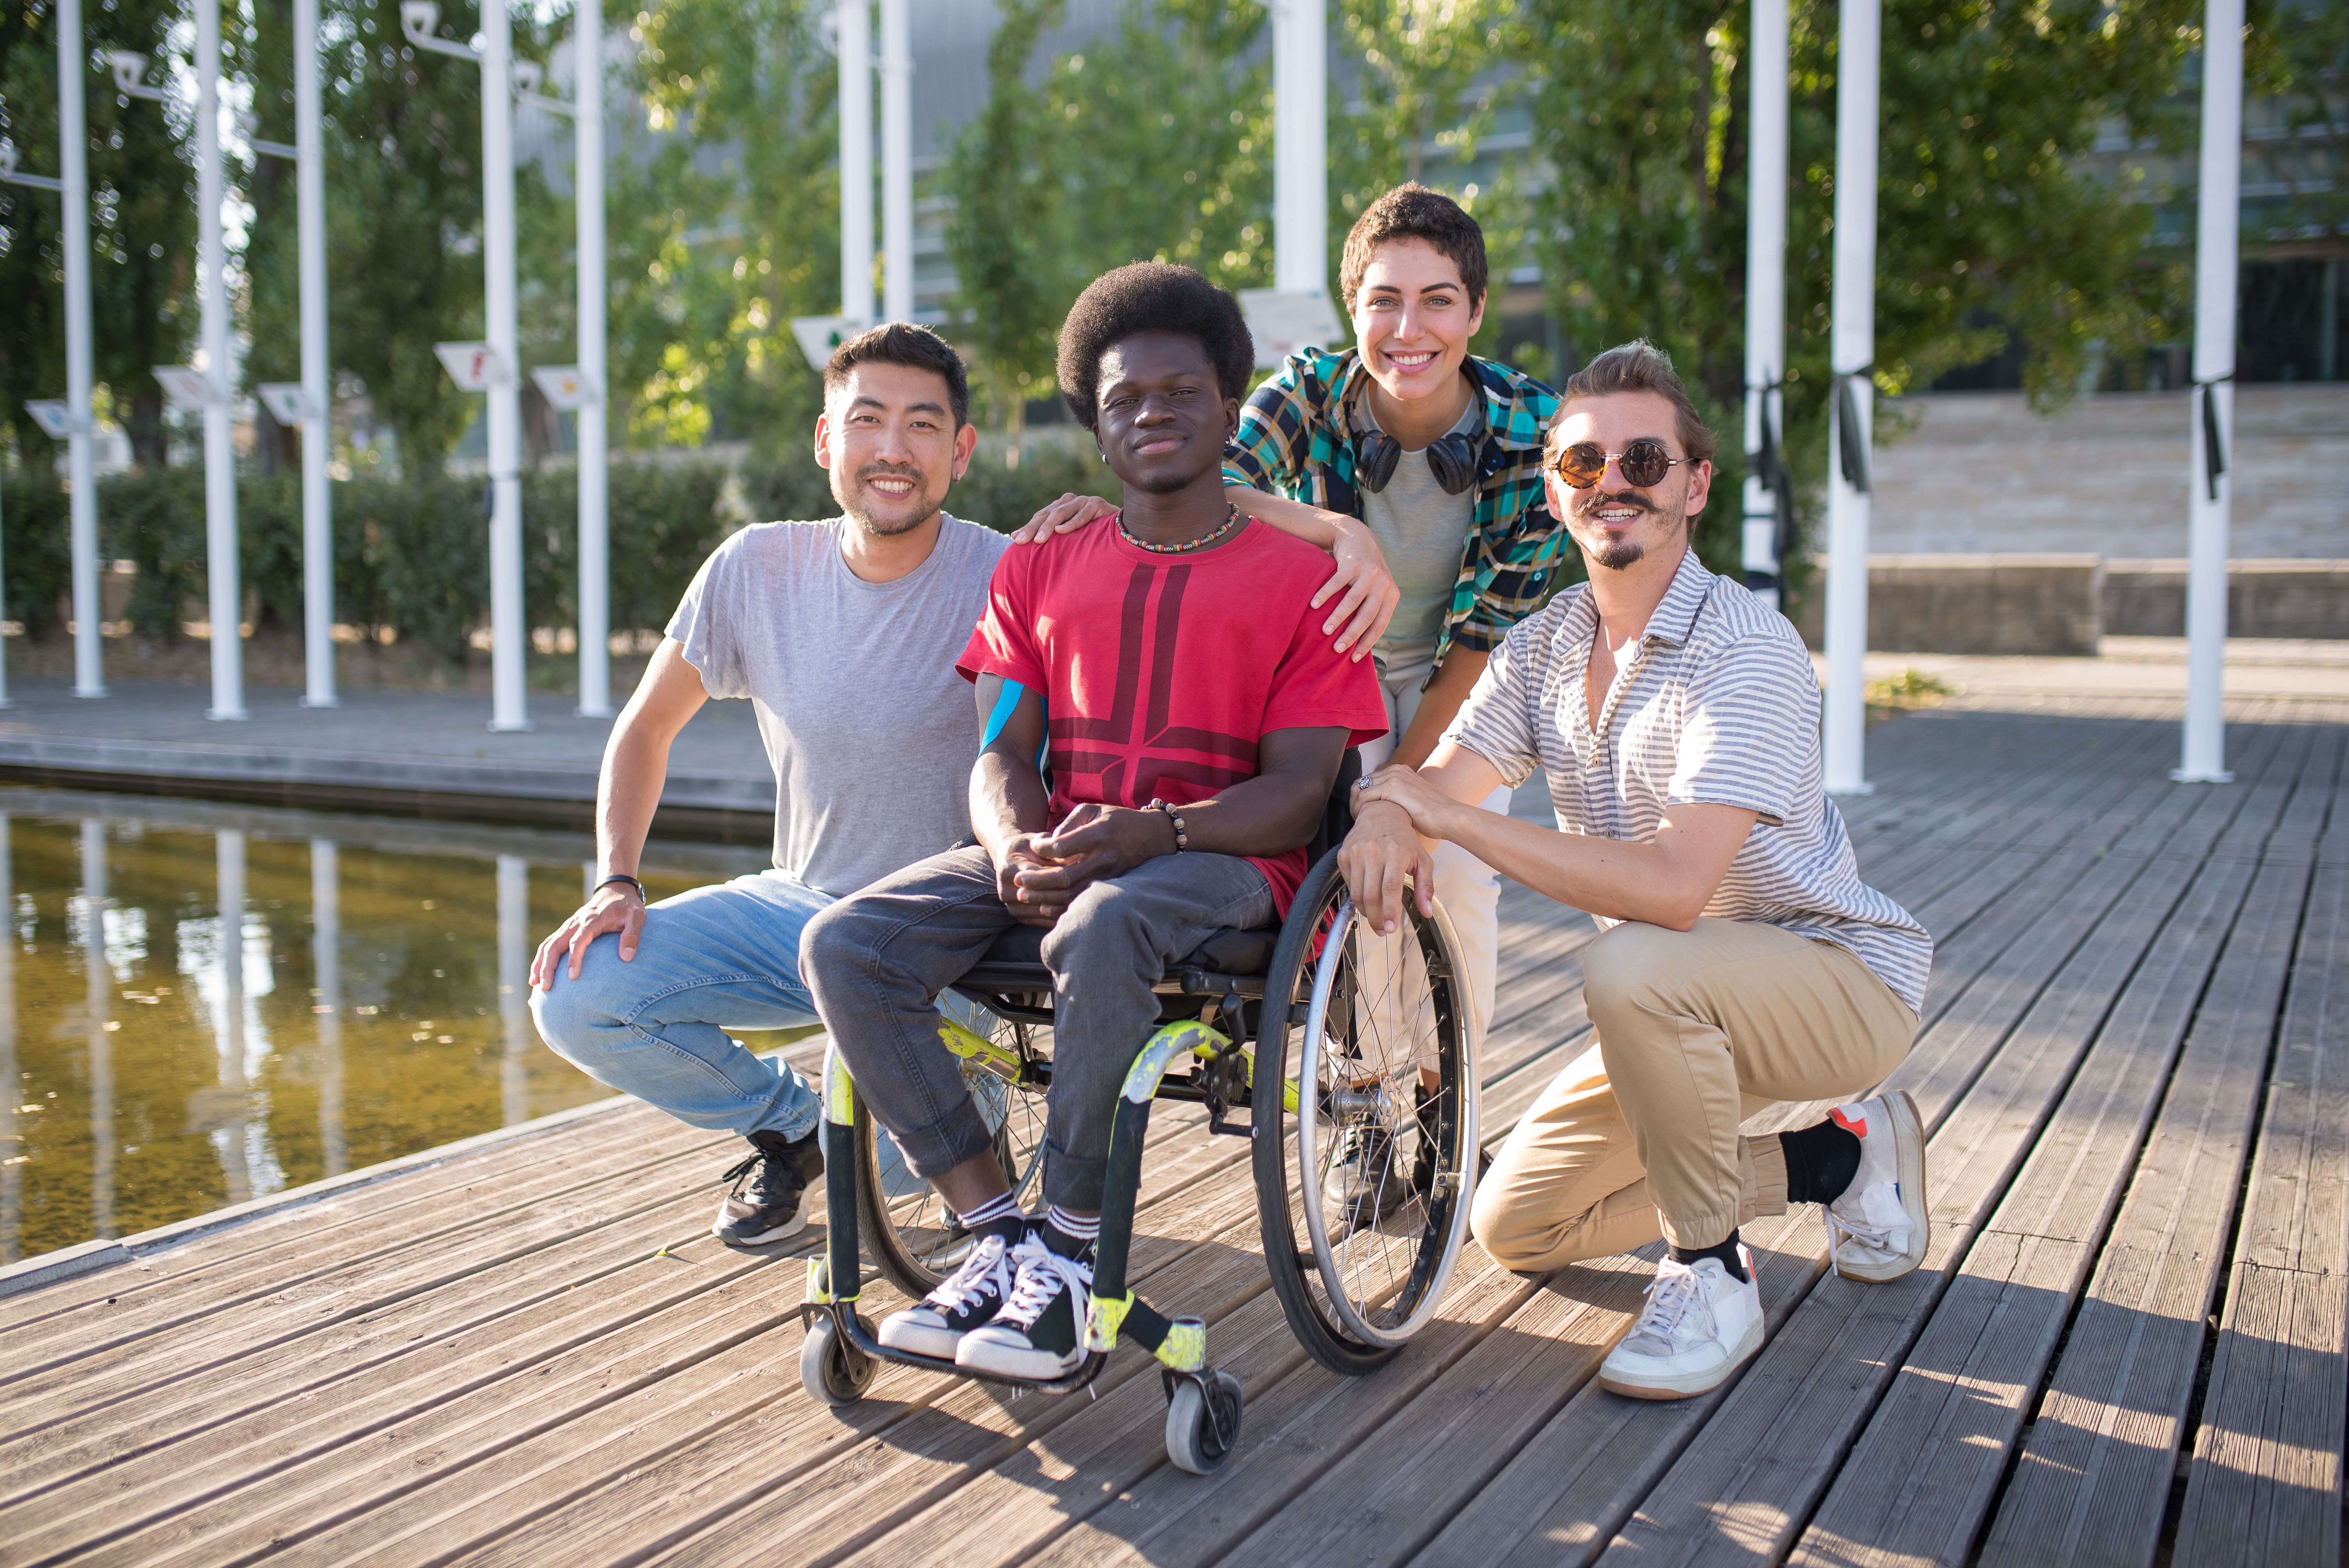
Table of Contents
- What “welcoming” means outdoors
- Design begins with the whole journey
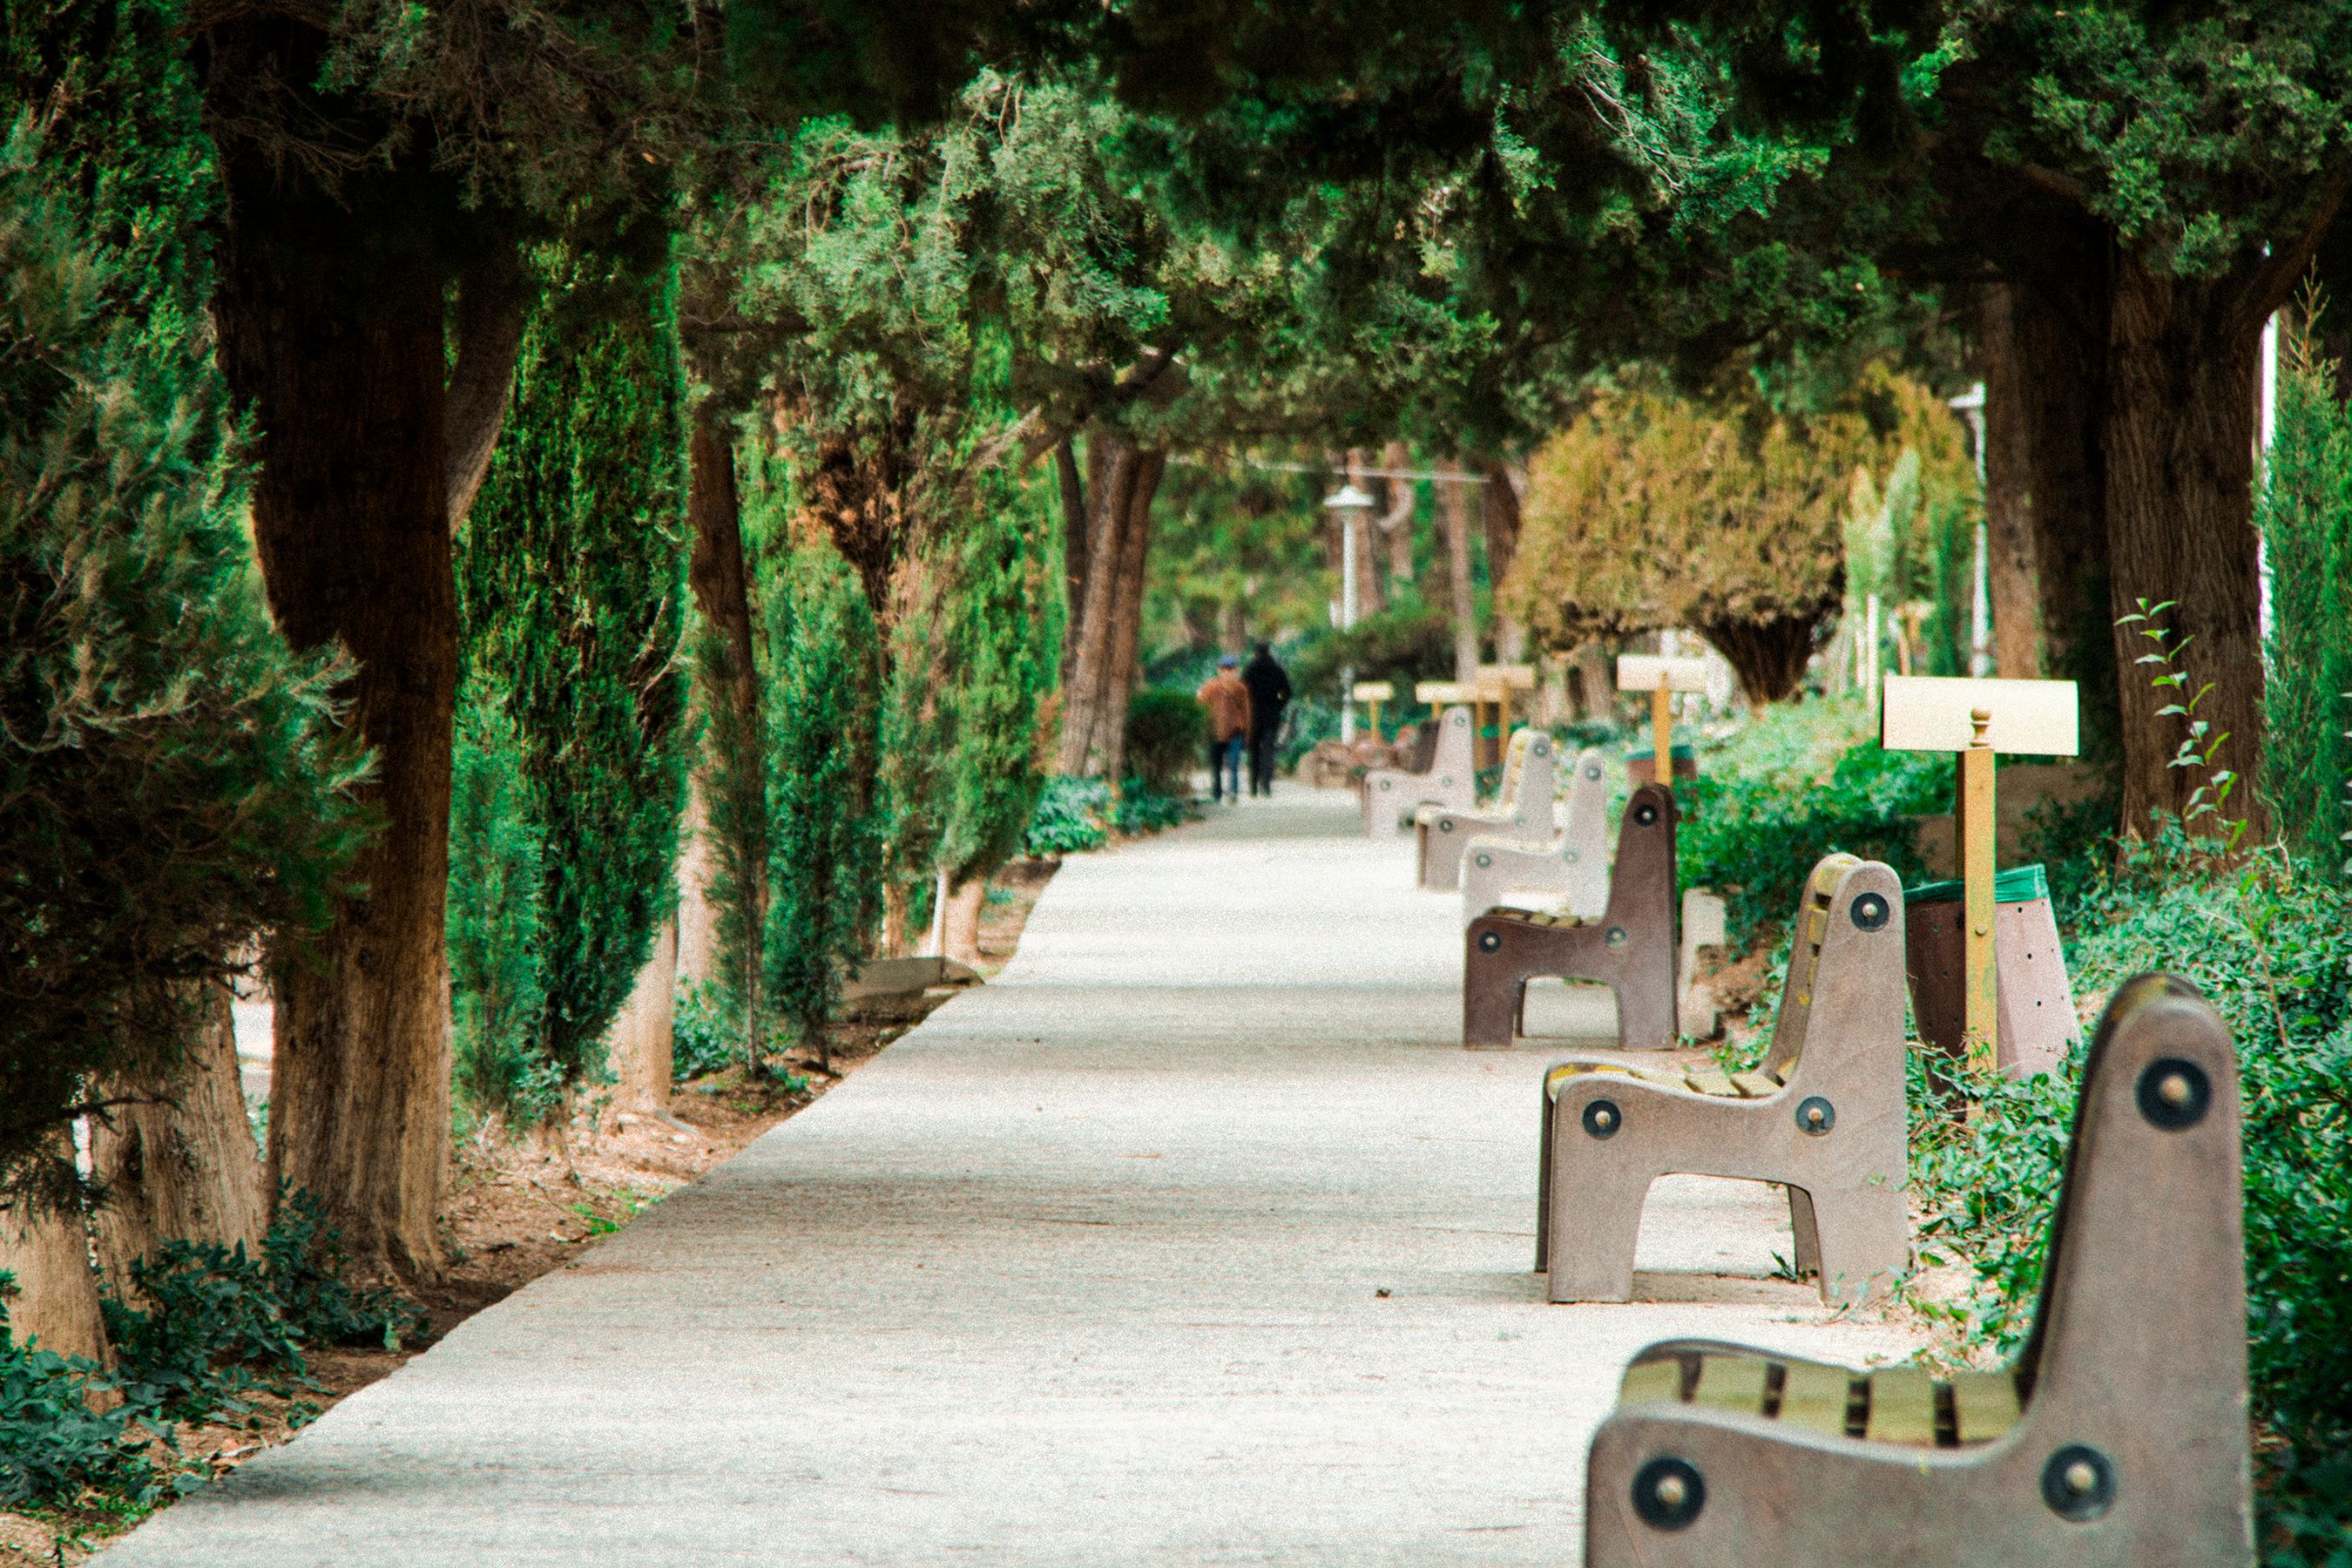
- Routes, rest, and the right to linger
- Play and sport without a side entrance
- The sensory and social layer
- How to review an existing space
- Frequently asked questions
What “welcoming” means outdoors
Welcoming design is not the same as making every surface identical or removing every challenging feature. Outdoor places can retain character, slopes, planting, and different levels of activity. The goal is to make choices visible and usable: a person should be able to understand where to go, move through the space, find a place to rest, and take part in its main activities.
The National Park Service describes universal design as an approach that supports equal opportunity for people with disabilities and for people in many everyday situations, including a parent pushing a stroller, a child on crutches, or a person with painful knees. Its accessibility and universal design standards also treat arrival, paths, furnishings, and functional areas as connected design decisions.
That connection matters. A ramp at the edge of a lawn does not create inclusion if the ramp leads to a narrow gate, a flooded surface, or a bench arrangement where companions cannot sit together. Access is a sequence, not a feature.
Design begins with the whole journey
Before choosing paving, play equipment, or furniture, map the experience from arrival to departure. Look at the space as someone who has never visited it before would: where is the entrance, what can be seen from it, and what happens when the route is busy, wet, dark, or crowded?
- Arrival: Provide a clear connection from public transport, drop-off points, parking, and nearby streets.
- Orientation: Use readable signs, strong contrast, consistent landmarks, and information that describes actual conditions.
- Movement: Keep routes continuous, firm, stable, and free of temporary obstructions such as bins, café furniture, or maintenance equipment.
- Participation: Connect the route to the main reason people visit, whether that is a court, playground, garden, water feature, picnic area, or viewpoint.
- Exit and return: Make it possible to leave without retracing an unnecessarily difficult route or depending on staff assistance.
The U.S. Access Board advises that outdoor accessibility should be considered early, with attention to the location of accessible elements and the routes connecting them. That is a planning issue, not a finishing touch. Once a site has been graded, planted, furnished, and fenced, fixing a broken sequence becomes much more expensive.
Routes, rest, and the right to linger
People often focus on whether a path is wide enough. Width matters, but so do surface performance, cross-slope, drainage, turning space, shade, and the distance between resting places. A route that is technically passable may still be exhausting or unsafe for someone using a manual wheelchair, walking with a cane, managing balance, or accompanying a child.
| Design element | Published guidance | Why it matters in a shared space |
|---|---|---|
| Trail clear tread width | 36 inches minimum | Maintains a continuous route, though wider paths or passing spaces are more useful where people meet. |
| Passing space on a narrower trail | 60 by 60 inches minimum, or an equivalent T-shaped space | Gives mobility-device users room to pass, turn, or pause without blocking the route. |
| Concrete, asphalt, or board trail cross-slope | No steeper than 2 percent | Limits the sideways pull that can make wheeled movement and balance harder. |
| Resting interval within the trail tread | At least 60 inches long and as wide as the adjacent tread | Creates a real recovery point rather than forcing someone to stop in the traffic line. |
Source note: Dimensions are from the U.S. Access Board’s Guide to the ABA Accessibility Standards, Chapter 10: Outdoor Developed Areas, accessed October 19, 2026. Local codes and the type of facility may require different or additional criteria.
These figures are not a complete design brief. They are reminders that the most inclusive path is usually not the narrowest route that passes inspection. Build in generous turning areas near entrances, crossings, toilets, play components, and seating. Keep furniture out of the clear path. Provide options: sun and shade, quiet and active edges, upright and supported seating, and places where a wheelchair can join rather than sit behind a group.
Play and sport without a side entrance
Inclusion is easiest to see in spaces built around activity. A basketball court, for instance, should not be treated as accessible simply because a wheelchair can reach its gate. The surface, approach, viewing areas, and social space around the court all influence whether people can play or belong to the group.
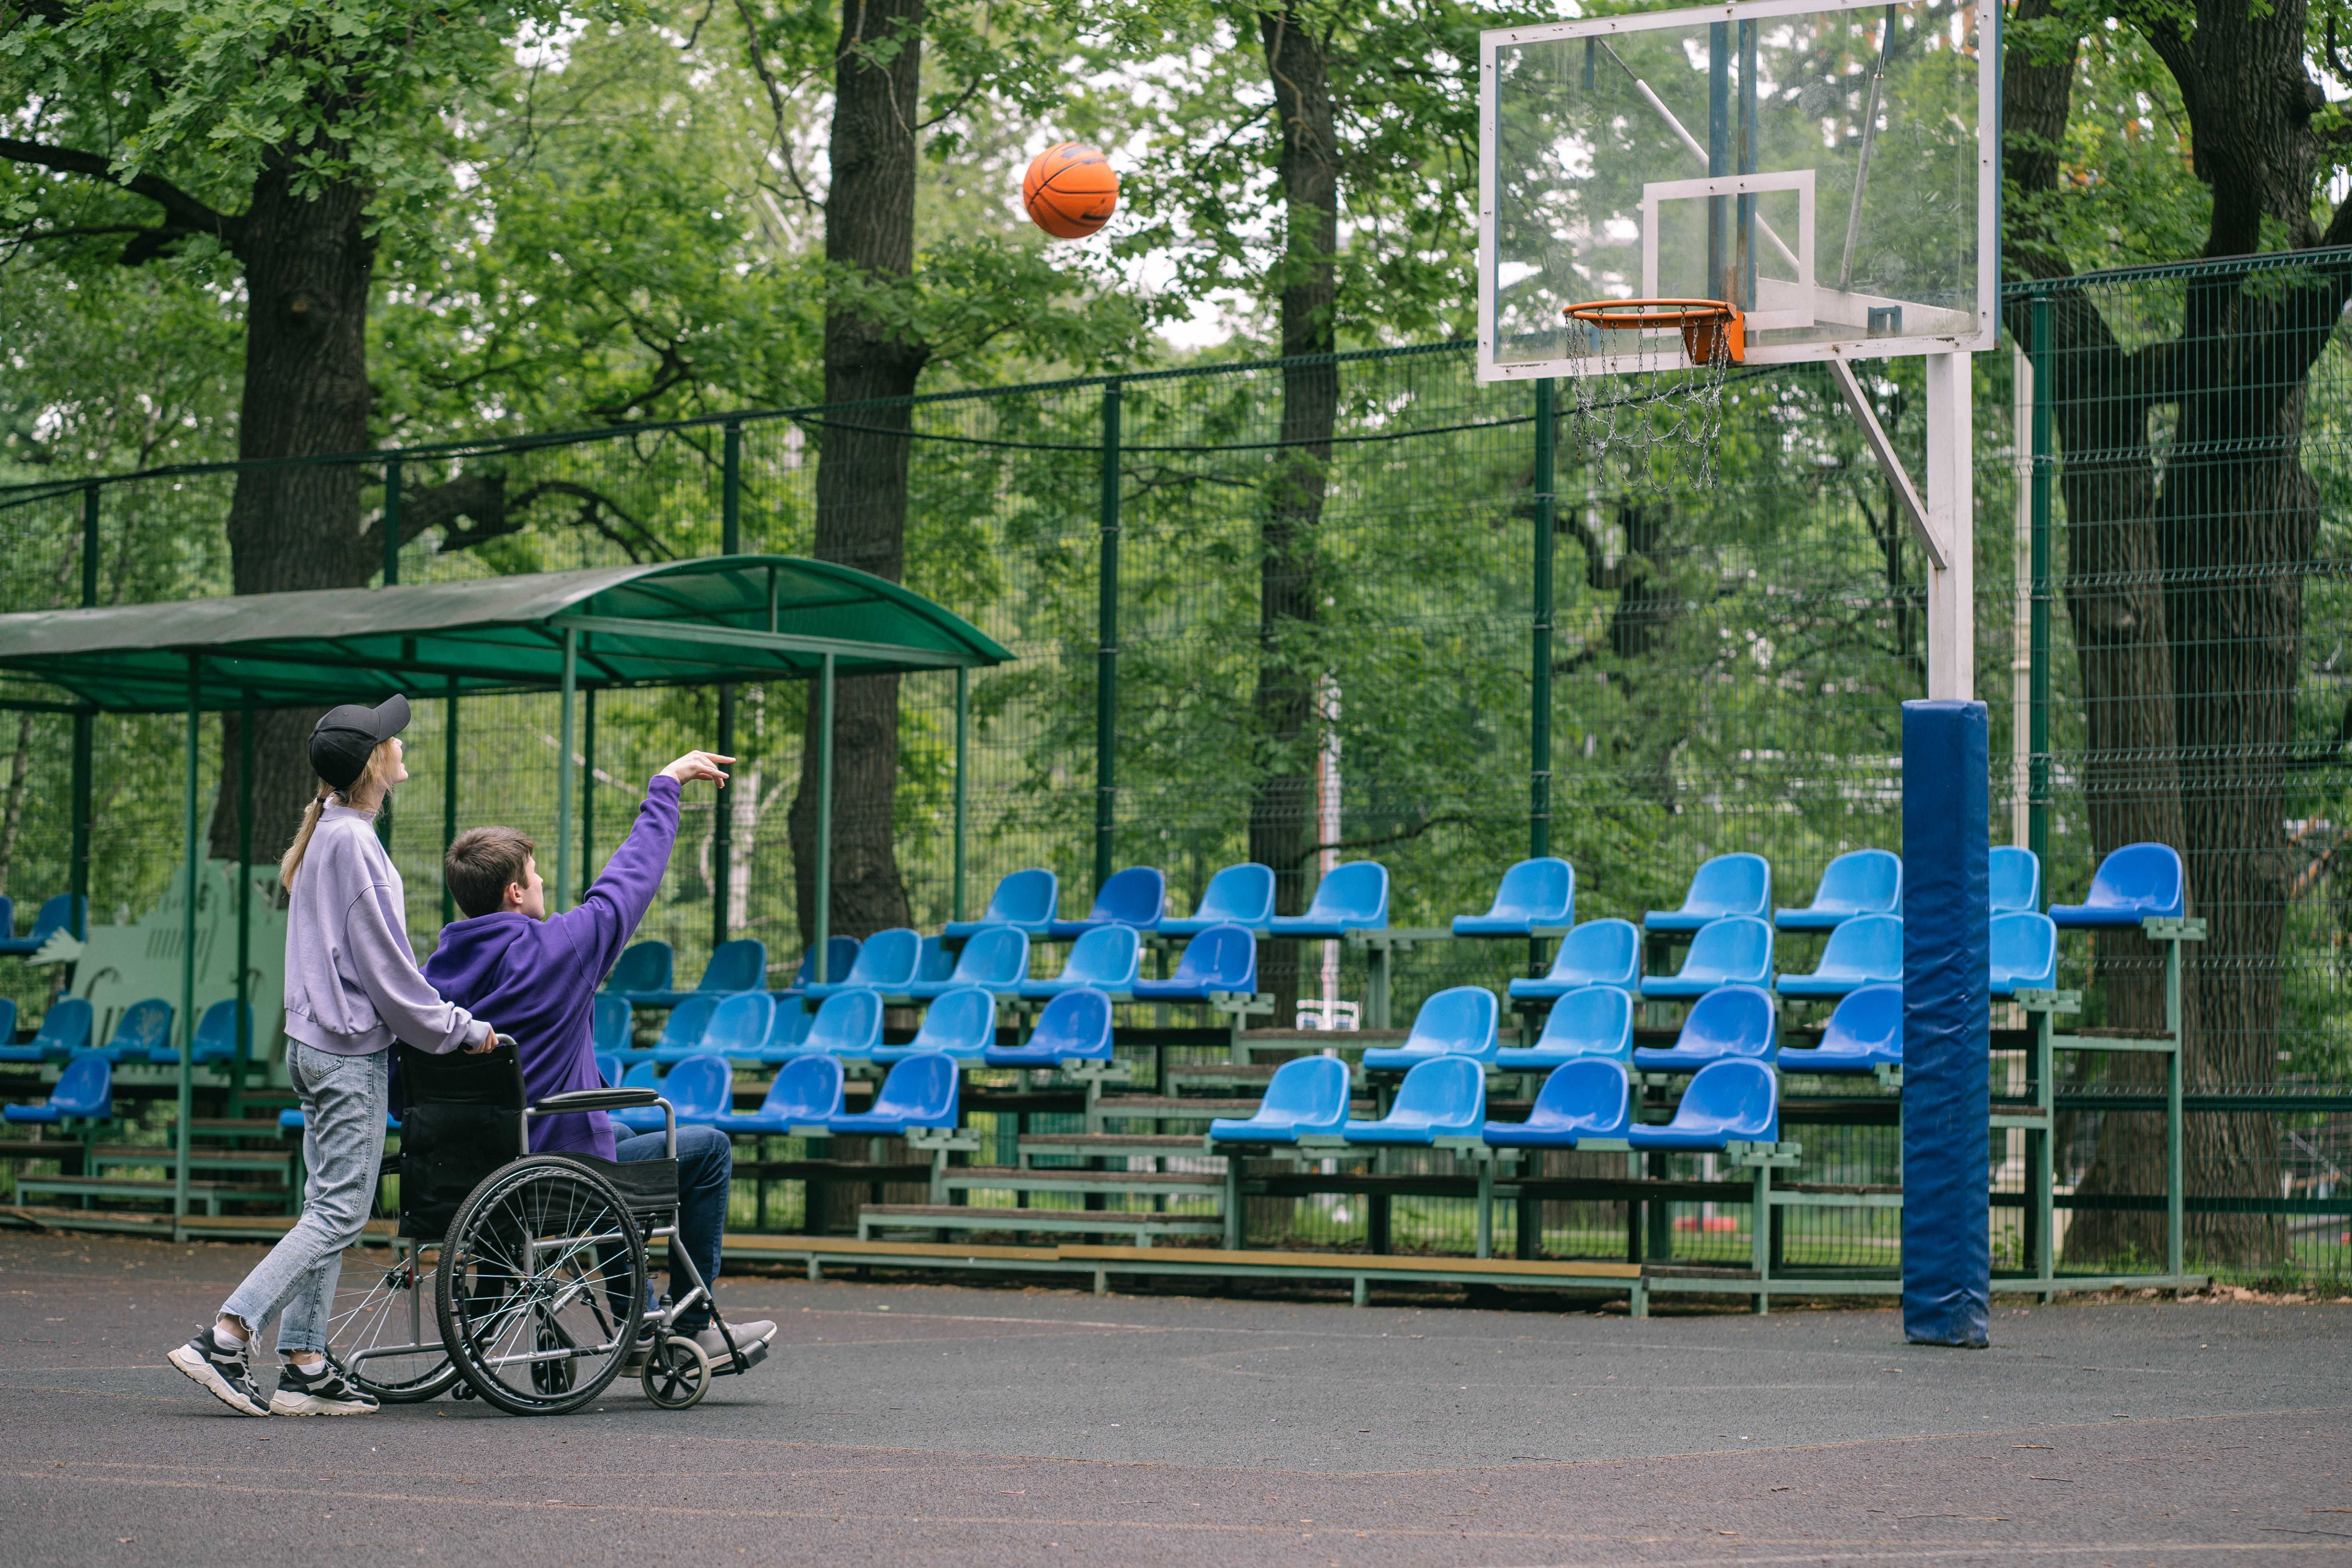
Playgrounds present a similar challenge. An accessible route should connect to ground-level play components, transfer systems, and clear spaces where children can engage at different heights. It is also important to think about adults: a parent or carer may need room to assist, rest, or stay close while another child uses a different element.
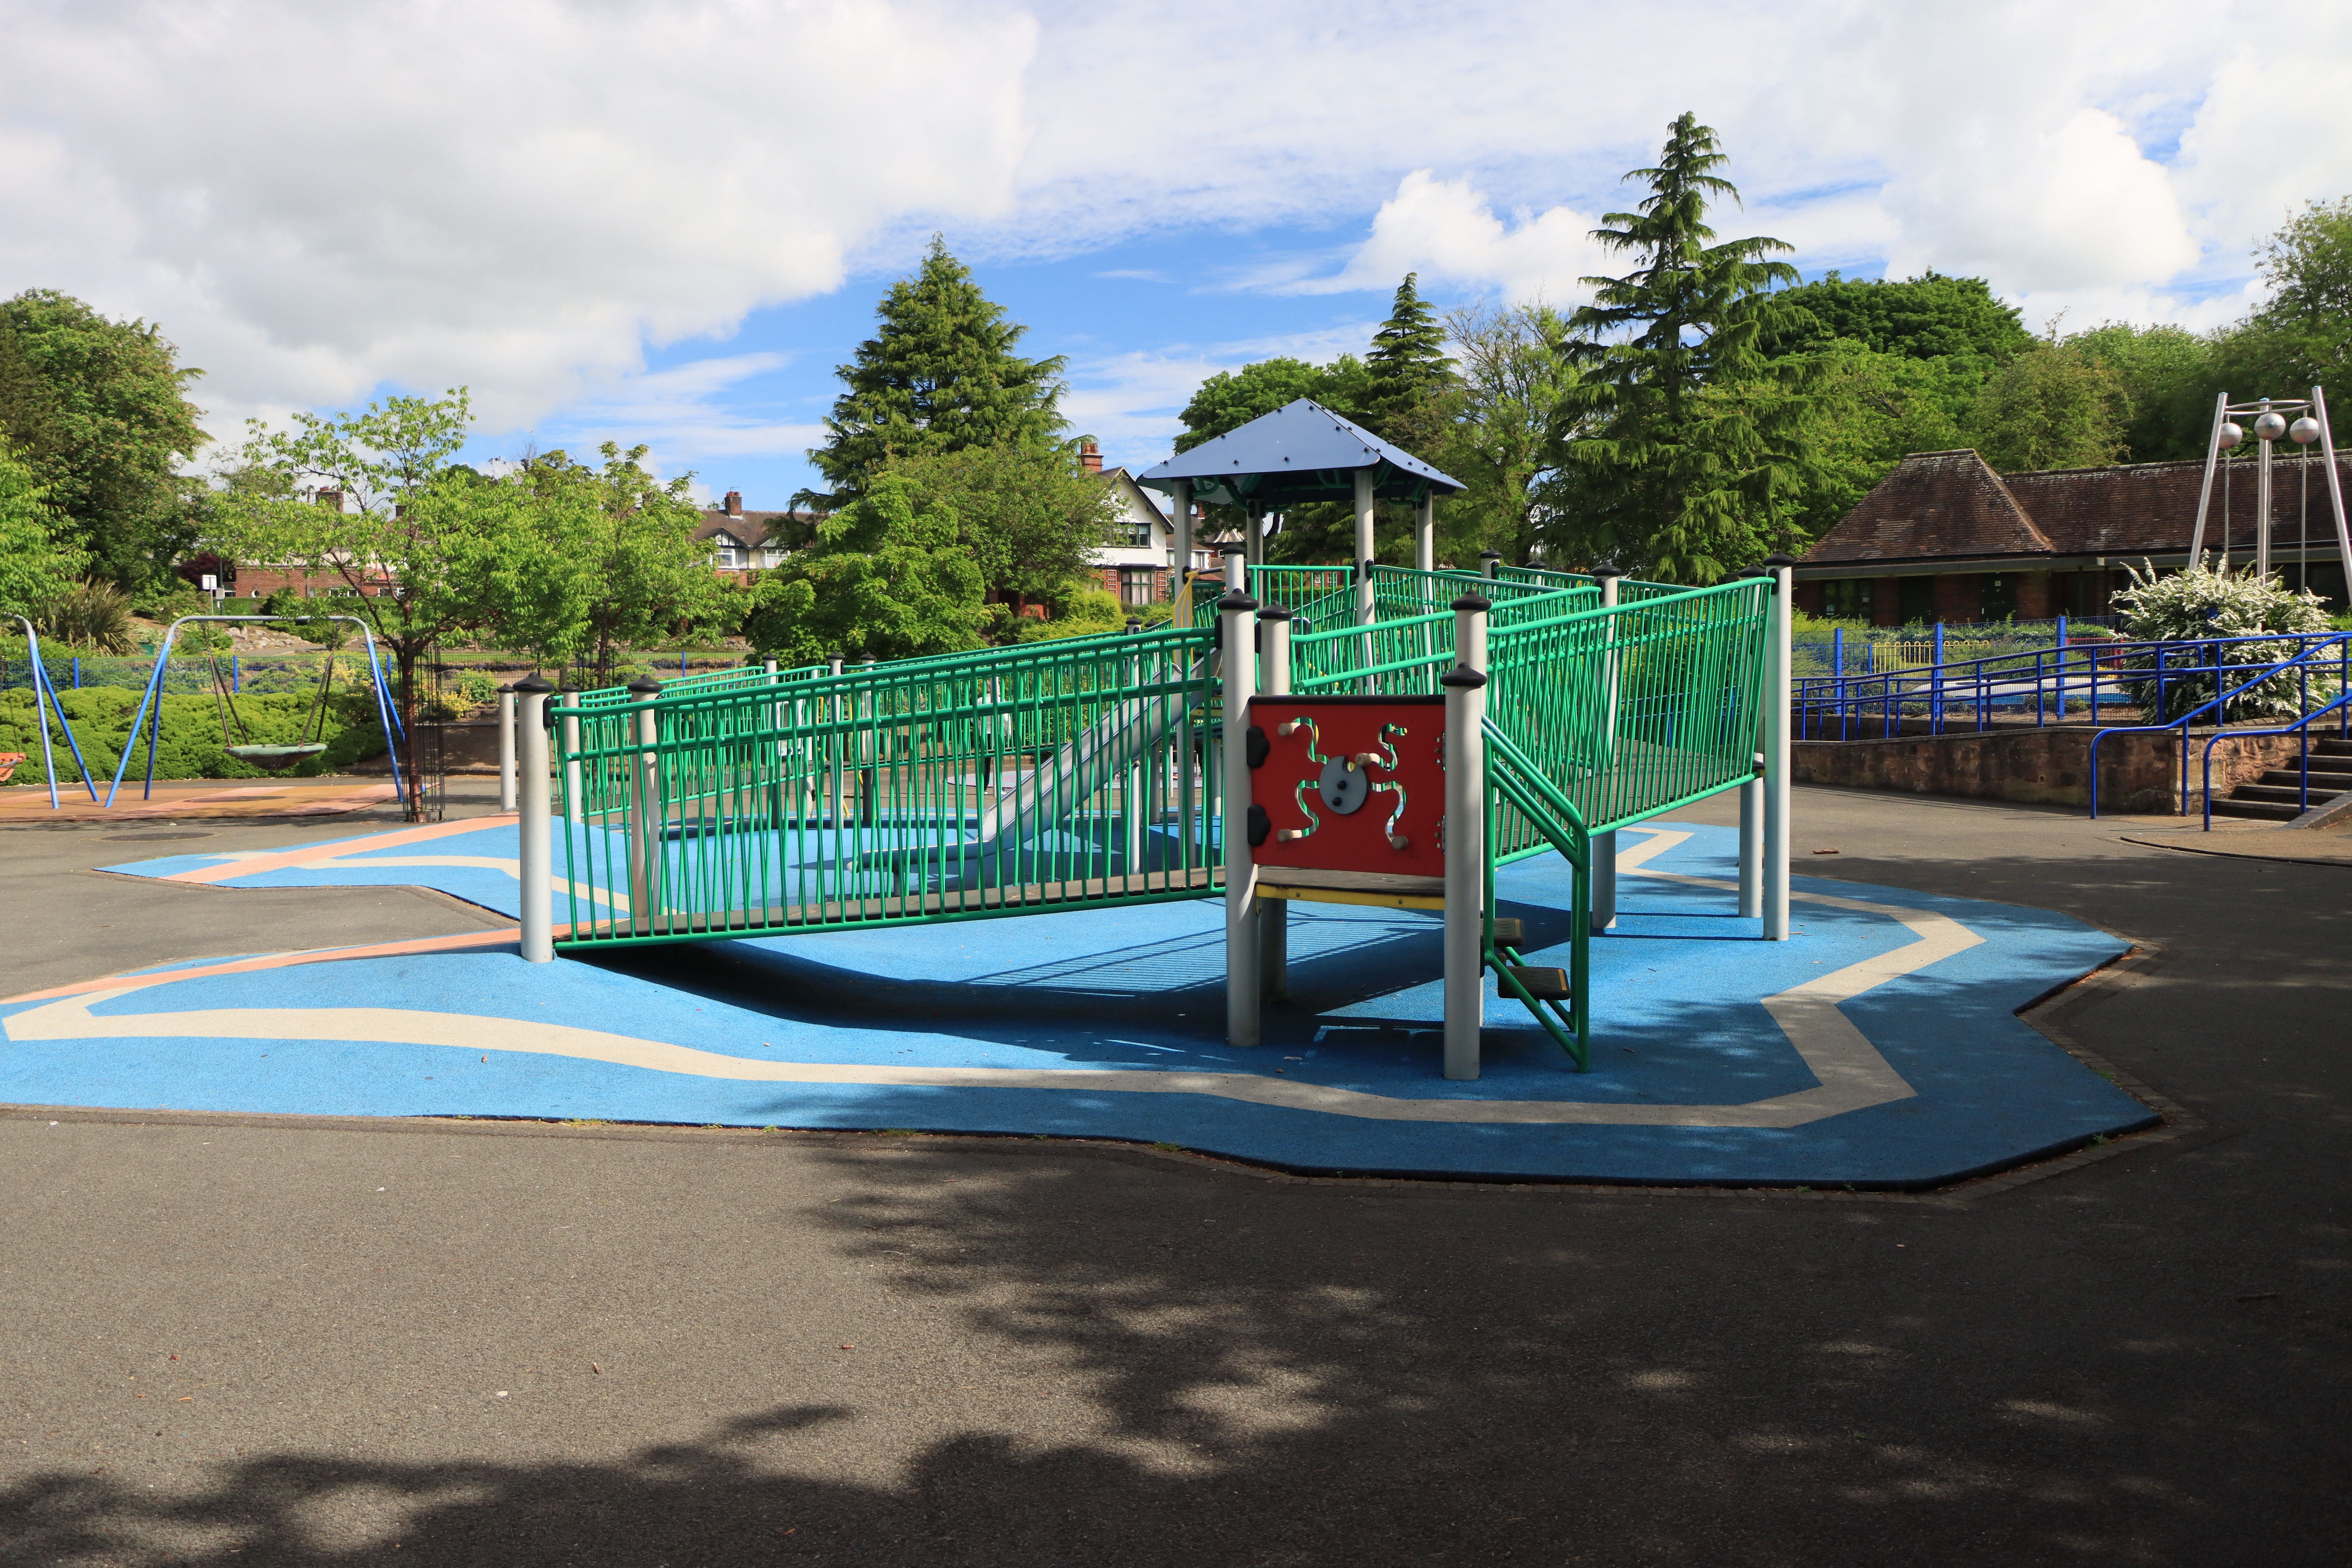
I would avoid the common “one special feature” approach. It looks efficient on a plan, but it often produces a token experience: one accessible swing at the edge, one viewing spot behind the seats, or one low table separated from the main picnic area. A better design distributes access across the activities people actually came to enjoy.
The sensory and social layer
Not every barrier is visible. Glare can make signs difficult to read. Sudden noise can overwhelm someone with sensory sensitivities. A lack of tactile or audio information can make navigation difficult for people with low vision or hearing loss. Strong smells, exposed seating, and the absence of toilets or drinking water can shorten a visit even when the route itself is flawless.
Useful design responses include:
- High-contrast signs with plain language and information positioned at a readable height.
- Consistent lighting that reduces deep shadow and glare without creating excessive brightness.
- Quiet edges or lower-stimulation areas near busy playgrounds and event spaces.
- Shade, shelter, and seating with backs and arms, alongside some open spaces for mobility devices.
- Planting and paving that help people understand boundaries without creating trip hazards.
- Clear information online and on site about surfaces, grades, toilets, distances, and temporary closures.
There is a social test here that plans often miss: can a mixed group stop together? If one person must remain on the path while everyone else occupies a bench, or if a wheelchair user can reach a picnic table only by crossing a planted bed, the space is sending a message about who was expected.
How to review an existing space
Retrofitting does not have to begin with a complete reconstruction. A careful walk-through can identify changes that improve the experience quickly while informing larger capital works. Invite people with different disabilities, older residents, families, maintenance staff, and regular users to review the site at different times of day.
- Follow a real trip. Start at the nearest bus stop or parking space and visit the main destination, toilet, drinking fountain, seating area, and exit.
- Record friction points. Note steep sections, loose surfaces, puddles, blocked routes, confusing signs, missing shade, and places where people cannot turn or pass.
- Test participation. Ask whether each person can join the activity, sit with companions, see what is happening, and leave independently.
- Separate repairs from redesign. Clear obstructions and repair surfaces now; schedule grading, drainage, lighting, or reconfigured furniture when greater work is needed.
- Publish honest information. If a route has a steep grade or a surface changes seasonally, describe it plainly instead of using a vague accessibility label.
Consultation should not be a final approval meeting. People who use mobility aids, communicate differently, or navigate through sound and touch can identify problems that a drawing will not reveal. Their input is most valuable before the layout is fixed, and again after construction when the space is being used in real weather by real groups.
Frequently Asked Questions
A more generous definition of public space
The best shared spaces do not make inclusion look like an add-on. They make the route to the court as ordinary as the court itself, place rest where people naturally need it, and allow different bodies to occupy the same social scene without explanation.
That is the real payoff of inclusive outdoor design: not just more compliant infrastructure, but more people staying longer, meeting one another, and treating the space as theirs. A park, playground, plaza, or recreation area becomes welcoming when its design assumes variety from the beginning.